Troubleshooting
August 2023 - SEGA Edition, PCB Revisions 1.1 to 1.3
SmartyPi – Troubleshooting
So you’ve followed the SmartyPi SE setup guide and are having problems, in the 1st instance recheck you have followed all steps correctly. If your SmartyPi PCB has never booted a game correctly since its first power up, check below in section A. Section B contains a list of problems that users have seen and information how to overcome the issue.
Section A
- It is imperative that your power supply voltage is set correctly as described in the setup document. Remove all connectors from SmartyPi and verify your supply voltage (black connector 10pin connector with White and Yellow wires) is in the acceptable range of 5.00 to 5.09 DC.
- Check the GPIO to SmartyPi adapter is correctly aligned on both the Raspberry Pi and SmartyPi SE PCB. It Should be installed so the circular hole in the adapter is on the same side as the video and Power connectors of the SE PCB.
- Check the Raspberry Pi Micro-SD and the Configuration Micro-SD card are correctly seated I the slots. The green sticker SD card belongs in the Pi, and the blue sticker SD belongs in the reader of the SmartyPi SE PCB.
- Confirm you have connected the USB cable between the Raspberry Pi and Microcontroller.
- Do you see any image on your monitor? – If you see no image at all, check you haven’t mistakenly connected the audio and video connectors in swapped locations, Due to the common connector, they can be reversed in error.
- If you see some sort of image but it is not stable, you will need to check you monitor sync settings, start with vertical sync adjustment. It is very likely adjusting this will give you a stable image. Size and position adjustments can be made to fine tune the image once you have a stable image on the monitor. If your Cabinet and Game monitor work correctly with an original game PCB, the video output of SmartyPi should very closely match the sync, size, and position of the original games.
- Did the game ROM copy take place? Verify your ROMs were downloaded and copied to a USB stick and placed in a folder called ‘roms’ in the root directory of your USB stick. The folder name is case sensitive and should be spelt in lower case. Try powering you cab with SmartyPi fully connected and the USB stick inserted before being powered on.
- If you are still having issues at this point, reach out for support using the details at the bottom of the document.
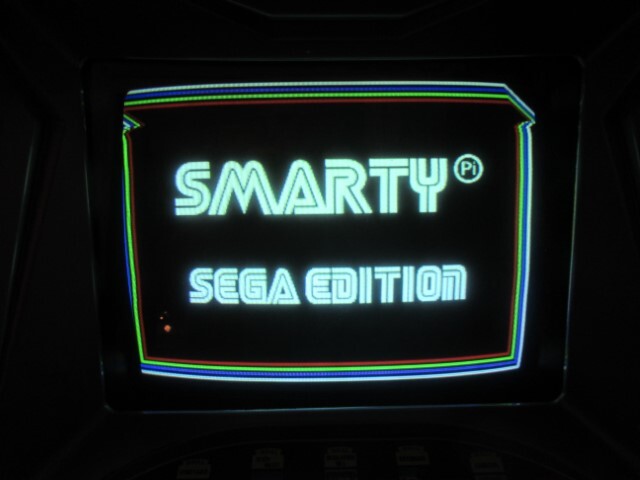
- SmartyPi SE is stuck on the logo screen and games never load? This is almost certainly an error with you configuration file stored on the MicroSD card connected to SmartyPi. Connect the Micro-SD card to your computer and verify all the parameters being used are valid.
Section B
Over time, and as more users connect SmartyPi boards to their game cabs, specific issues that have previously not been seen may arise. Short explanations and the expected fix are provided below. If you have an issue not noted here please contact me to discuss and resolve.
Monitor shows a curl at the top of your image
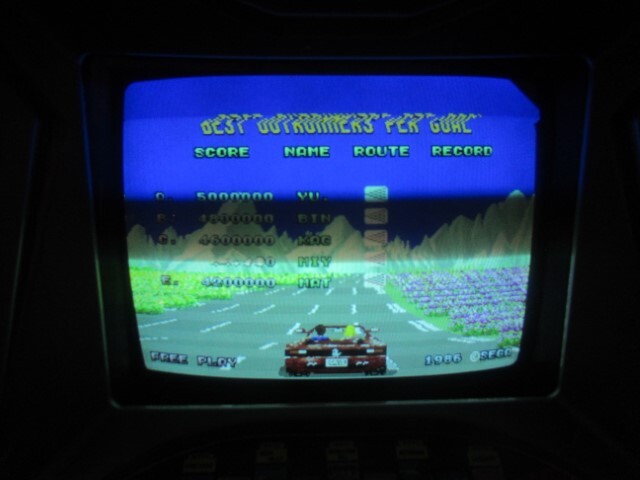
You connect your SmartyPi and the video image is showing a curl to one side in the top part of the screen, usually position and hold adjustments don't help. This has been seen in two Out Run users cabinets with Wells & Gardner K7000 monitors. Images examples shown below.
If this is happening on your SmartyPi you may need to adjust the video timing settings on the MicroSD card that is running in the Raspberry Pi. Power Off SmartyPi and remove the Micro SD card from the Raspberry Pi; it just slides out. connect the MicroSD card to your computer using an adapter. If using a Windows computer, you may be asked to Format the card before use. DO NOT do this, Windows sees the Linux partition and thinks it knows best... If you say yes to this request you will need to reinstall the complete Pi image. Just cancel the window and look in file explorer, you will see a drive called 'boot' click into this and open the drive, look for a file called config.txt and open it. Expand the window and look/search for the 'hdmi_timing' setting. You will need to change the settings with the choice below. Once you have updated the file, save it and eject from your computer. Place the MicroSD card back in the Raspberry Pi and power on. If you see an unstable image or no image at all, the timing is not compatible with your monitor and you will need to revert to the original setting or try one of the other provided.
The current (as of 30-08-23) default shipping timing is as follows, hdmi_timings=320 0 20 29 35 224 1 10 14 16 0 0 0 60 0 6400000 1
This is the timing the original early release boards shipped with hdmi_timings=320 0 16 30 34 240 1 2 3 22 0 0 0 60 0 6400000 1
If you have a screen tearing at the top, you may like to try hdmi_timings=320 0 16 30 34 224 1 2 3 22 0 0 0 60 0 6400000 1
User supplied timing with a stable image for their W&G K7000 monitor hdmi_timings=320 0 10 40 40 224 1 10 15 16 0 0 0 60 0 6400000 1
If you find a setting that isn't shown above and this fixes a specific issue on a monitor, please let me know and I will add it to the list above.
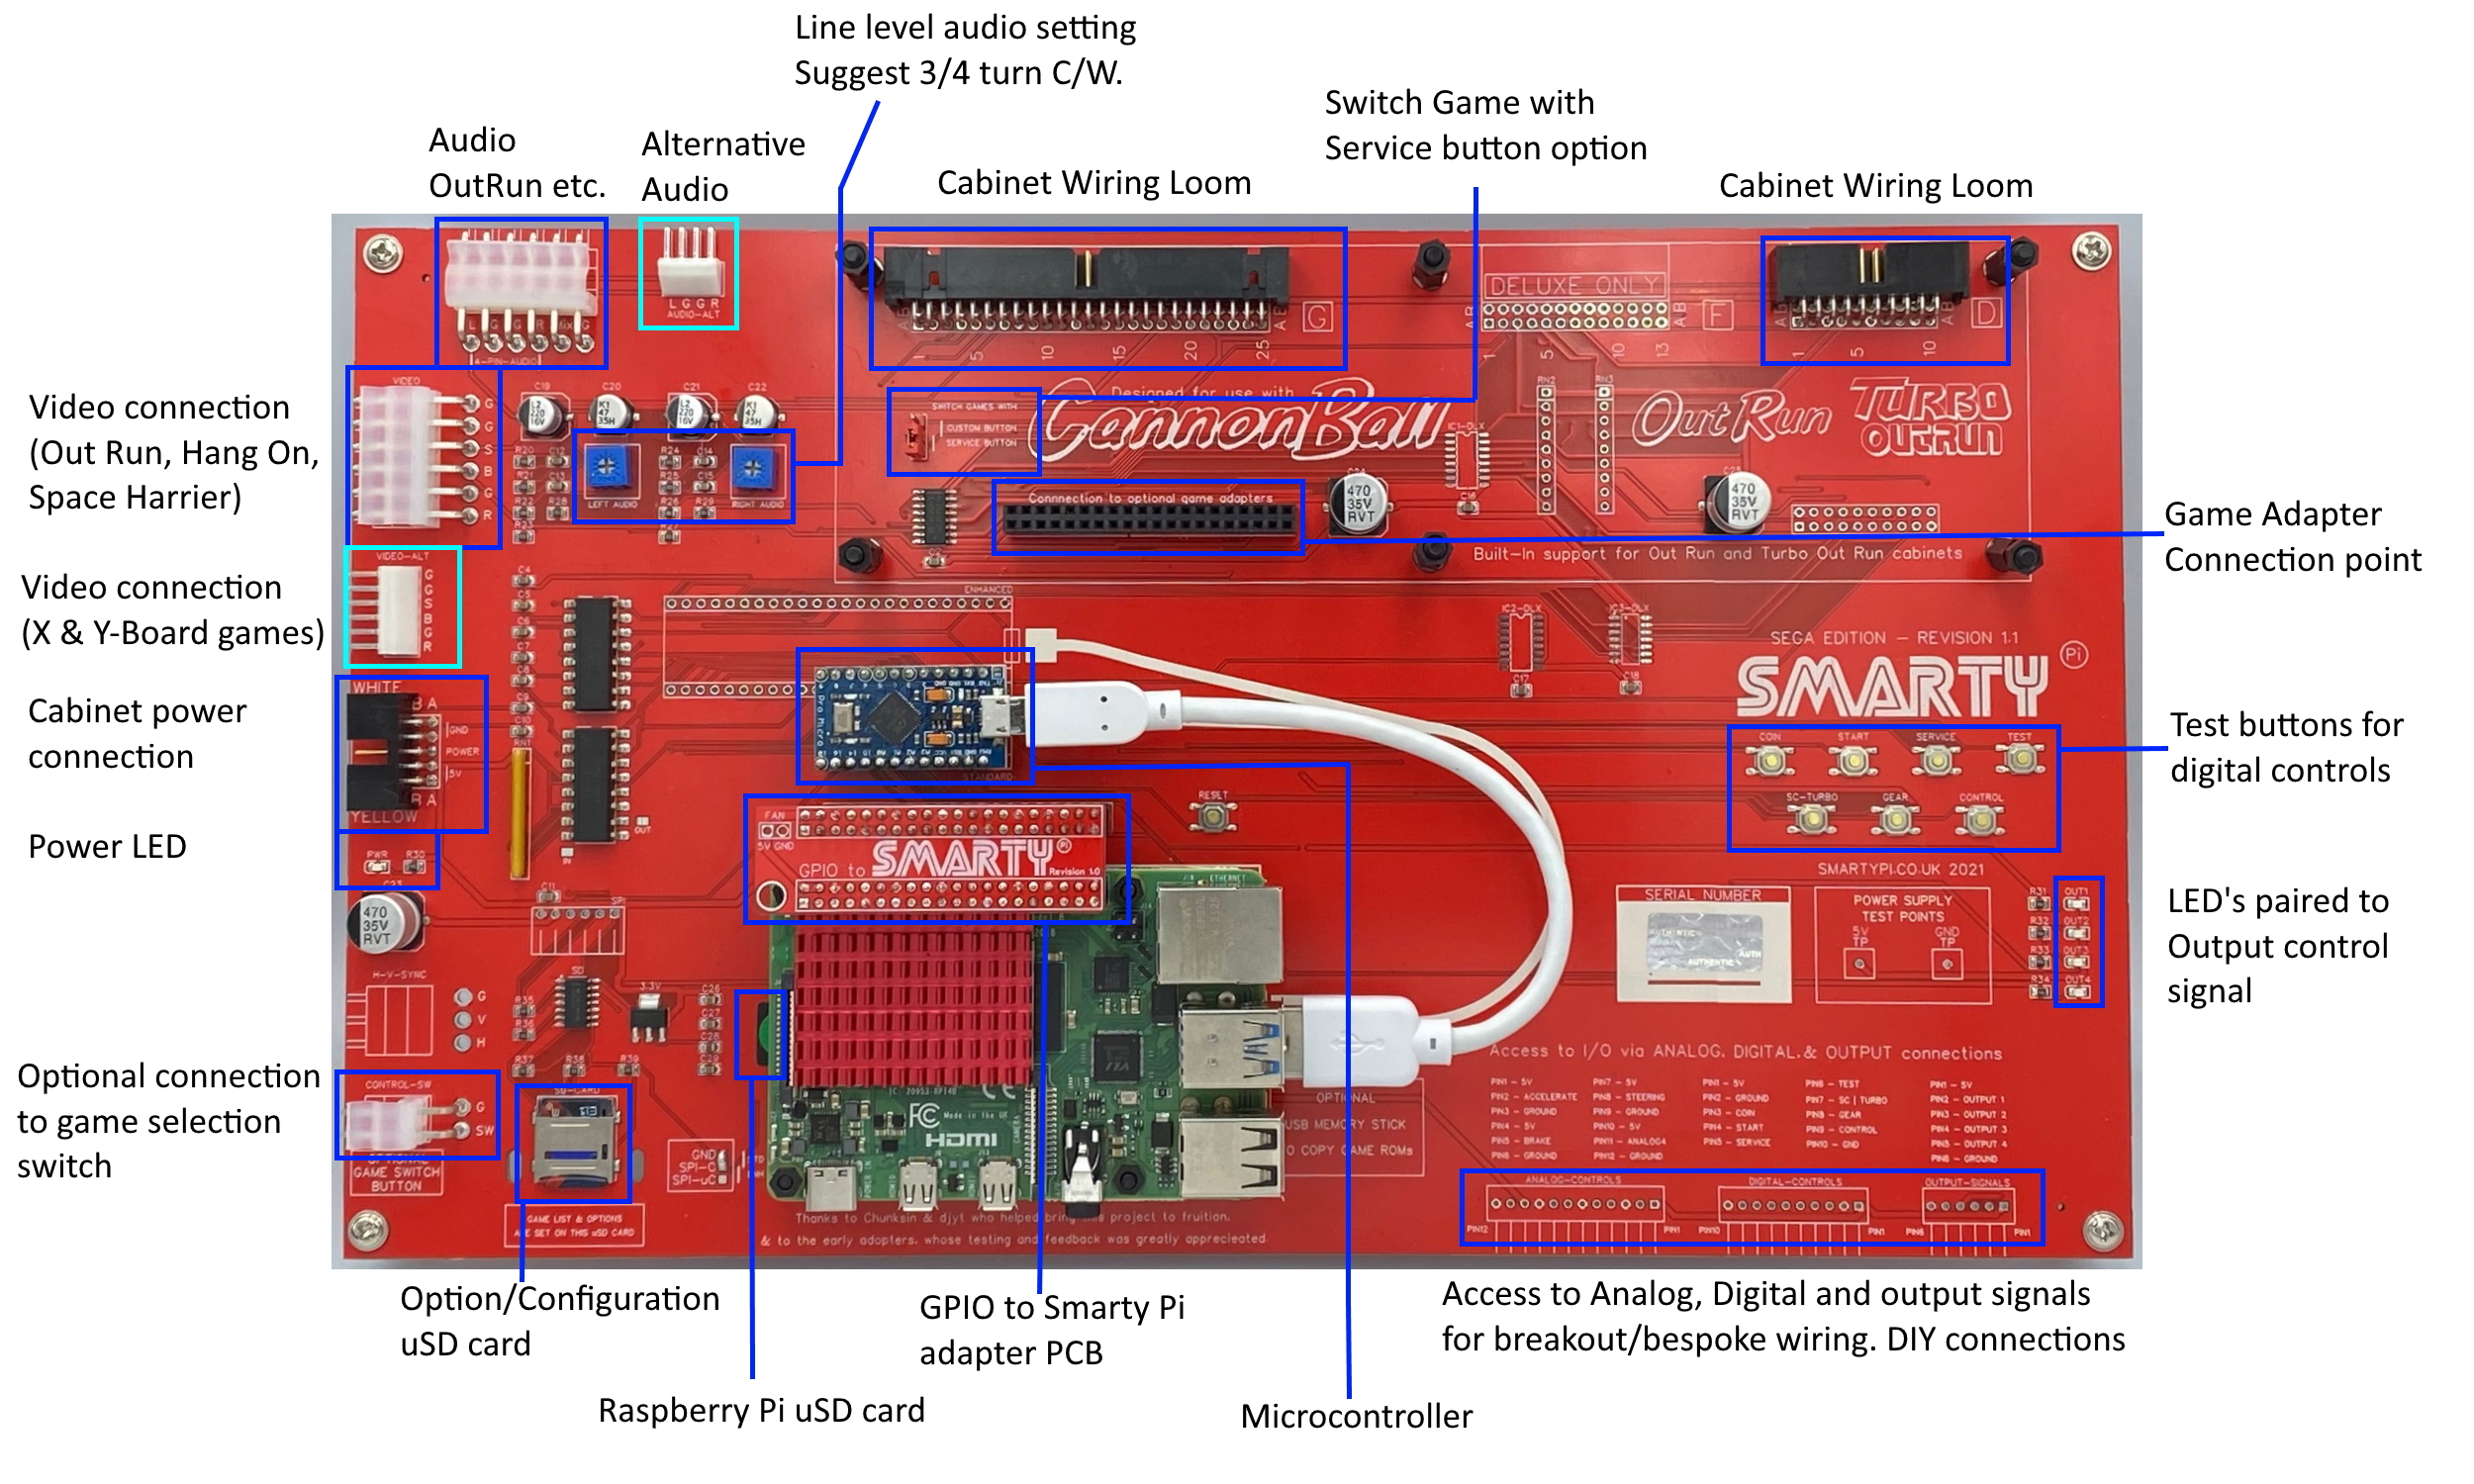
SmartyPi SE component locations
Further information can be found at smartypi.co.uk or you can contact me via email at smartypi.arcade@gmail.com Other SmartyPi users may be able to help with any technical issues, they can be found on the UKvAc forum, or on Facebook in the SmartyPi User’s groups.


